
Hi everyone, I'm Mod Saj and I'm here to talk about some cool visibility improvements we've been working on.
These improvements were shown at an early stage at the RuneFest keynote. They include three features which will let you navigate dense environments without losing track of your character, and make it easier for you to find objects and NPCs you can interact with.
In this post I'll talk a bit about how they work and give you a sneak peek at how they will affect your game.
Highlighting
"You're learning a new skill and it has taken you somewhere you've never been before. Time to wiggle your mouse around to figure out what you can interact with in here!"
If the above sounds familiar, you're not alone - most of us have been there.
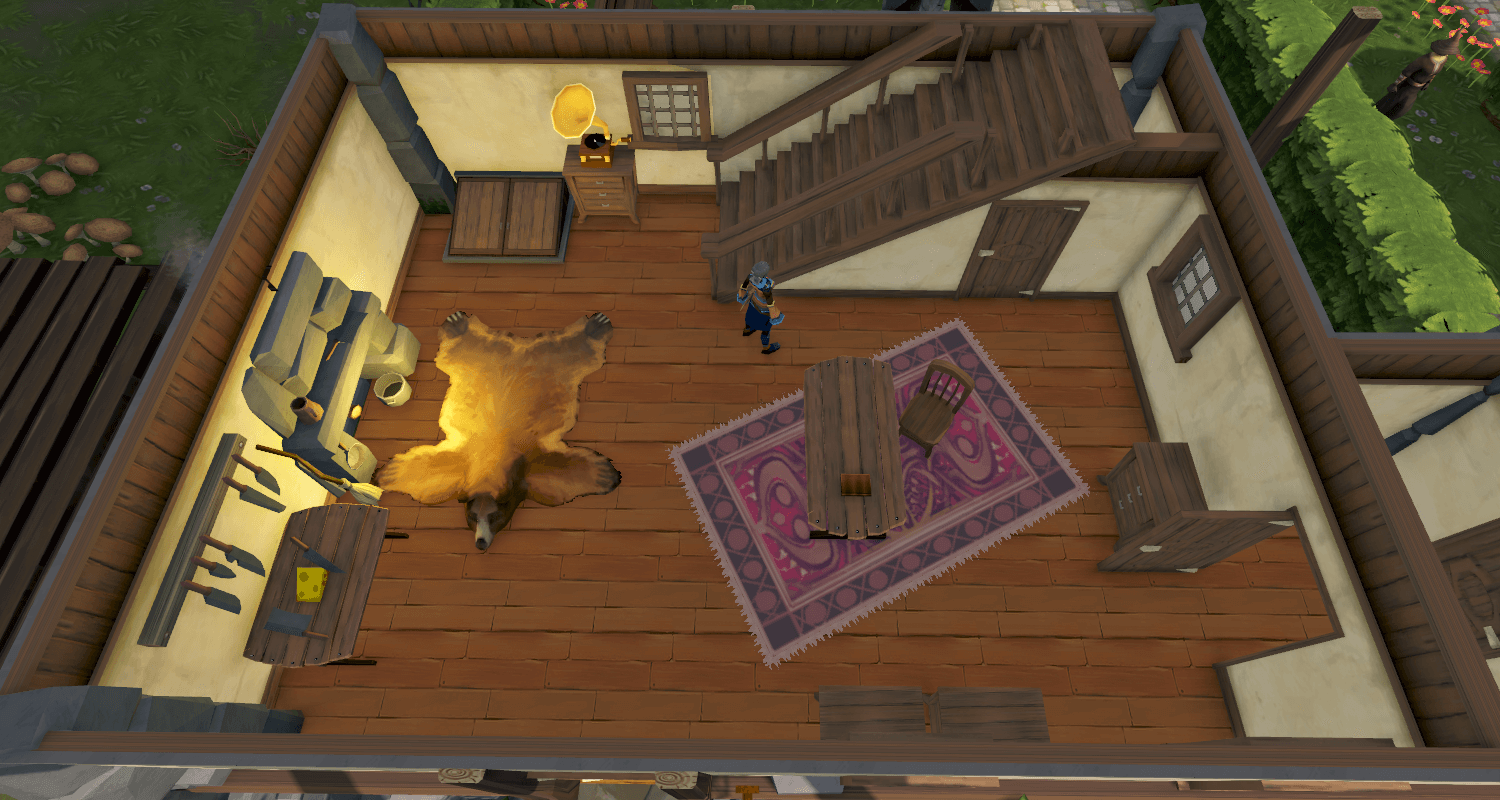
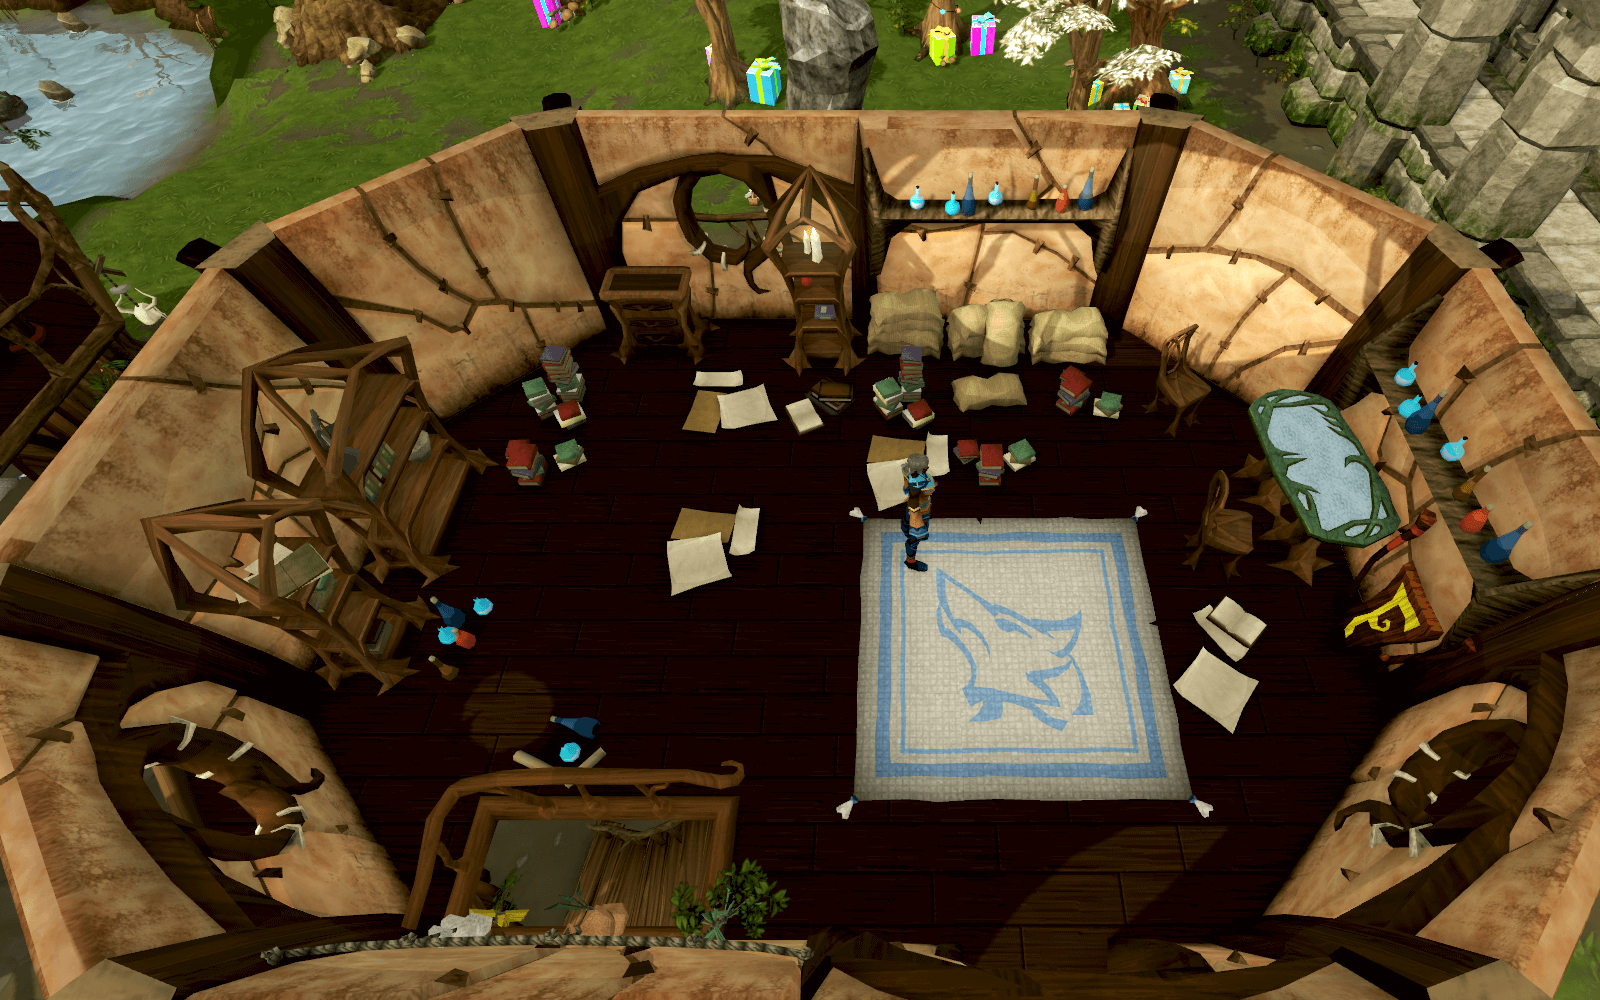
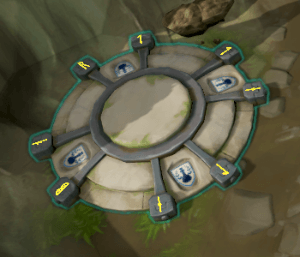
It's not always obvious what's interactive and what isn't. For example, see if you can spot everything you can interact with in the locations shown in these images. Let's make it easier and ignore things you can only examine:
Done? Here's what you can actually interact with, as seen on mobile with highlight active:
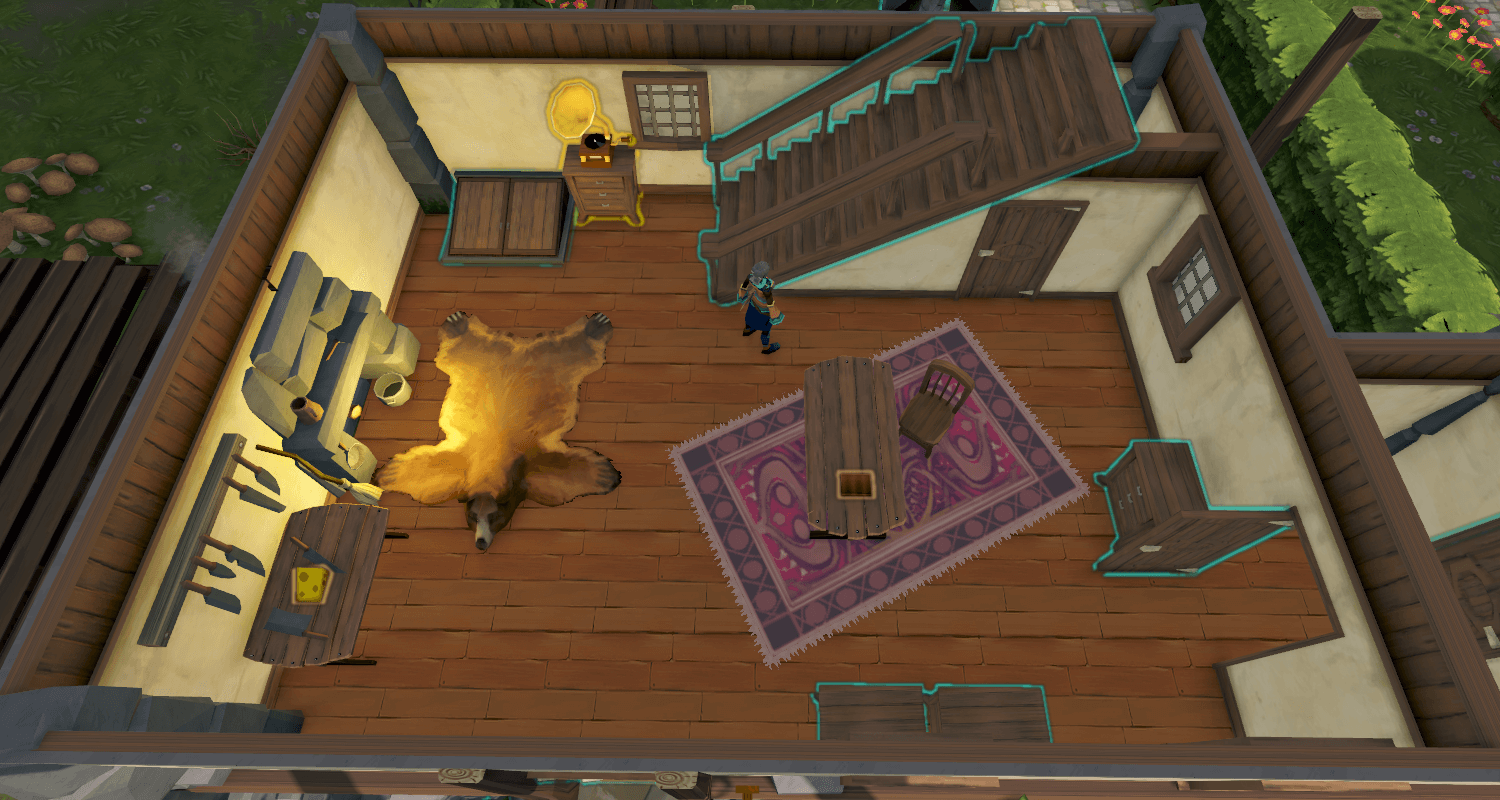
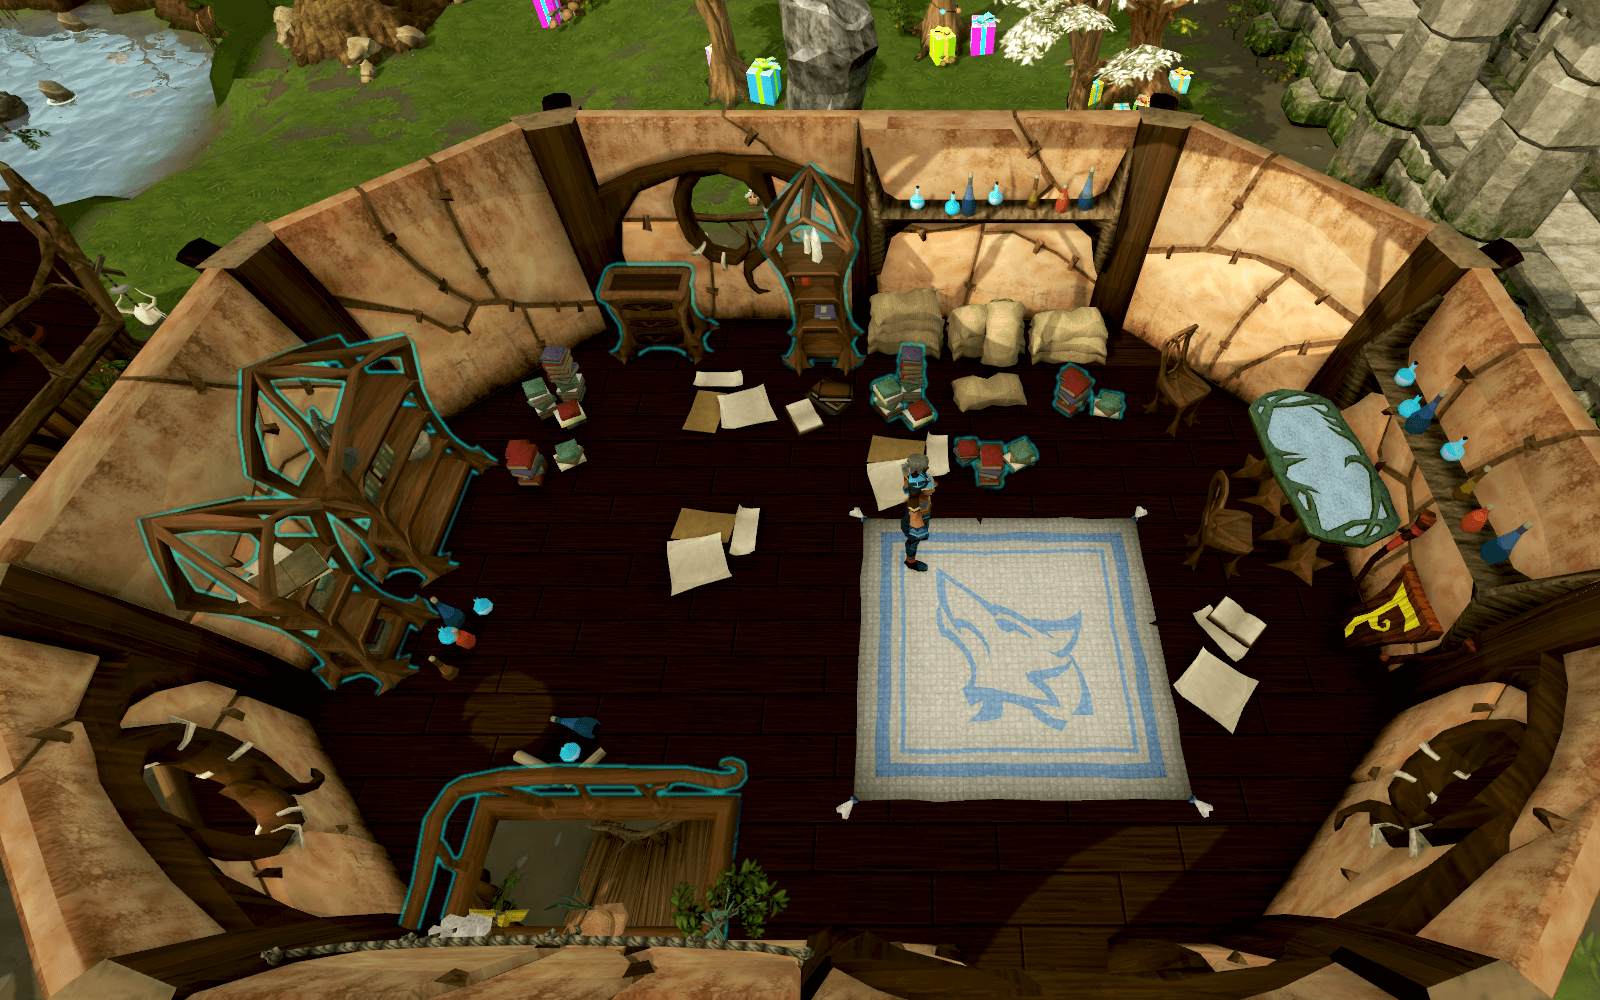
As you can see, it varies slightly from place to place, but it's not that obvious, even if you've been playing for a long time.
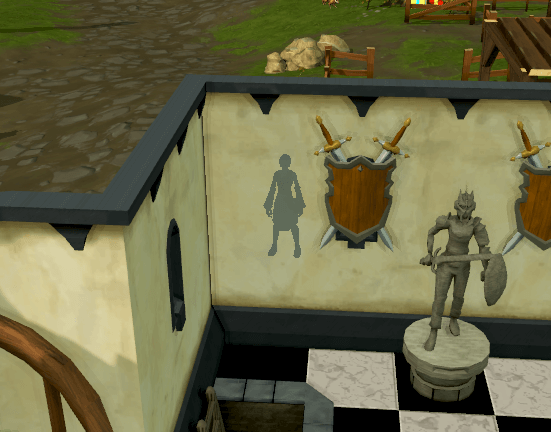
Highlighting helps with this by adding a glowing outline around almost everything you can interact with (ranging from players, NPCs, loot drops and trees) making it more obvious what they are and making them easier to spot. One exception are things that can only be examined, which are excluded from having outlines because it would lead to a large amount of visual noise. We also wanted to make it clear that something being highlighted meant you could click or tap on it to perform an action straight away, unlike examine where you must select an action from the mini menu.
Different object types also have different highlight colours, as you may have guessed from the previous images. For NPCs and players, it goes a bit further and also checks if they're friendly or hostile, so you can quickly tell if they want to give you an express ticket to Death's hourglass or are simply minding their own business.
Before we move on, here are a couple of videos showing it in motion, starting with desktop where we highlight things as you move your cursor around:
On mobile, where there's no cursor, we instead highlight things around your character as you move around, with an on/off toggle so you can quickly enable it when needed:
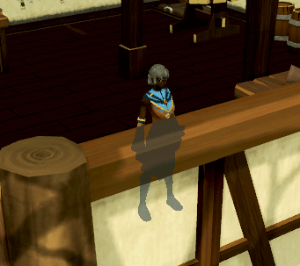
Character Silhouettes
We're also adding silhouettes for your character, which are visible through walls, terrain, and other objects. This makes it much easier to keep track of where you are at all times, particularly when used together with the canopy cut-out effect.
And here it is in motion:
Tree canopy cut-out
RuneScape has a large amount of forests, and there's something all of them have in common - trees. Trees are lovely, but trees-that-make-it-difficult-to-see-what-you're-doing are less so, as you will be aware if you recall from The Lost Grove.
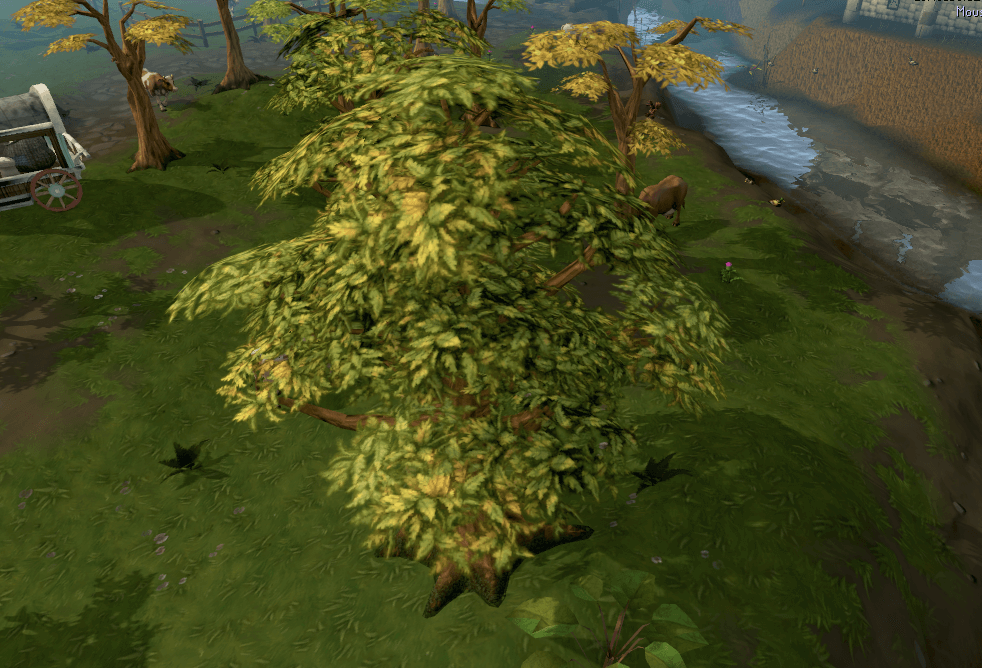
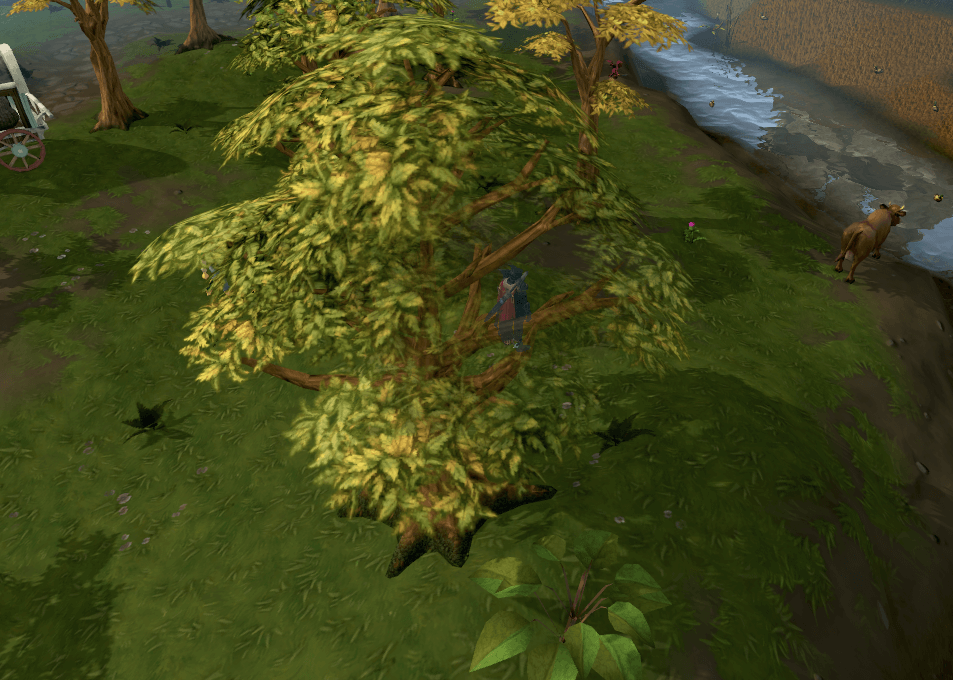

To solve that, we're adding a feature that checks if your character isn't visible, and then places an effect around them where tree canopies and foliage drawn in that area become more transparent. The strength of this effect varies depending on how visible your character is, with things becoming completely see-through at its maximum. This also supports silhouettes so you get a clear indication that your character is partially obstructed.
A note, however: At release this will be enabled only for canopies. We're looking into making it affect tree branches in the future, once some technical limitations related to old content are resolved.
Tech Talk: An outline of how it's done
For those of you curious about how it works, it's a fairly simple effect:
Silhouettes are handled in a similar way, where instead of drawing at different sizes and checking against the depth buffer both times, we use the same size for both and only check against the depth buffer on the last draw operation.
That's all for the technical side! We looked into several methods and chose this one in the end since it gives us the best combination of visual control and performance, letting us use different colour highlights and allowing us to extend this system further in the future.
Tech Talk: Making windows out of trees
For this feature, we first need to find out if your character is visible or not. This is done by using something called 'hardware queries'.
These let you basically ask the GPU how long it took to draw something, if it's visible at all, or how many pixels it occupied. A downside to using them is that for performance reasons, we can't get back results from a query in the same frame it was used, because doing so would force the CPU to wait for the GPU to finish drawing the entire frame. To avoid this, we don't extract results until they're ready, so the entire system takes into account a one or two frame delay.
We begin by drawing the player character with the last query type mentioned above, comparing the pixel count value obtained from it against how many pixels it would occupy if there was nothing in the way. This gives us a visibility percentage. Converting this value into a transparency amount involves first averaging it with the values obtained in previous frames (so we can avoid the transparency oscillating rapidly whenever there are small camera movements) and animations. Once this averaging process is finished, we simply use the current average as an input when drawing canopies and foliage, making them more transparent the smaller this value is.
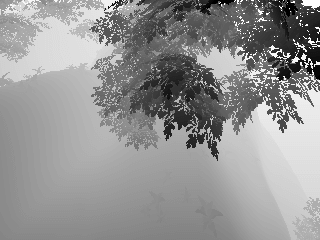
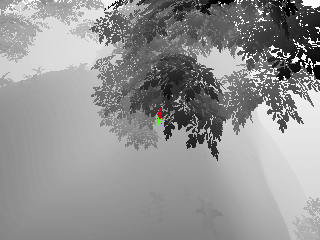

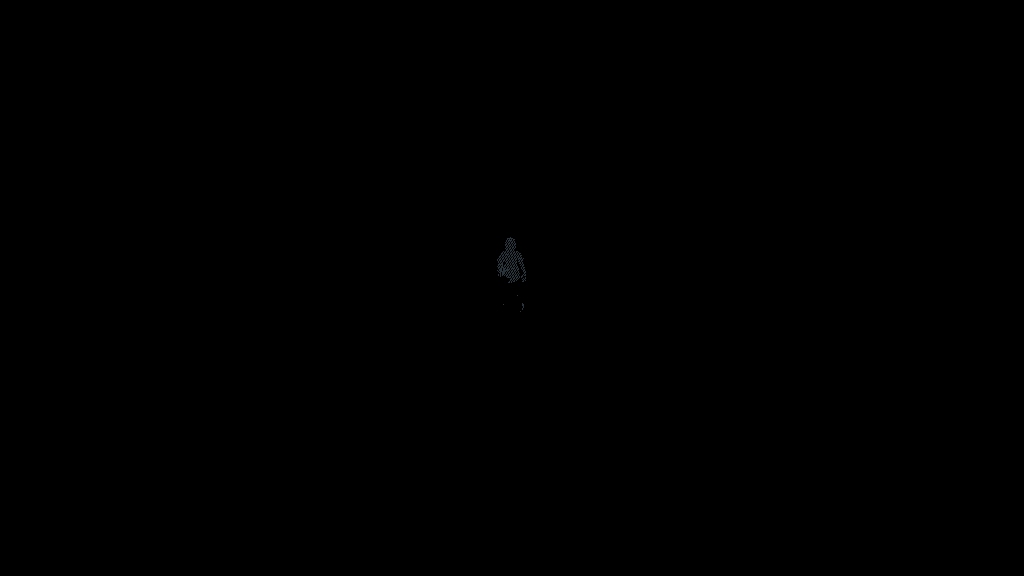
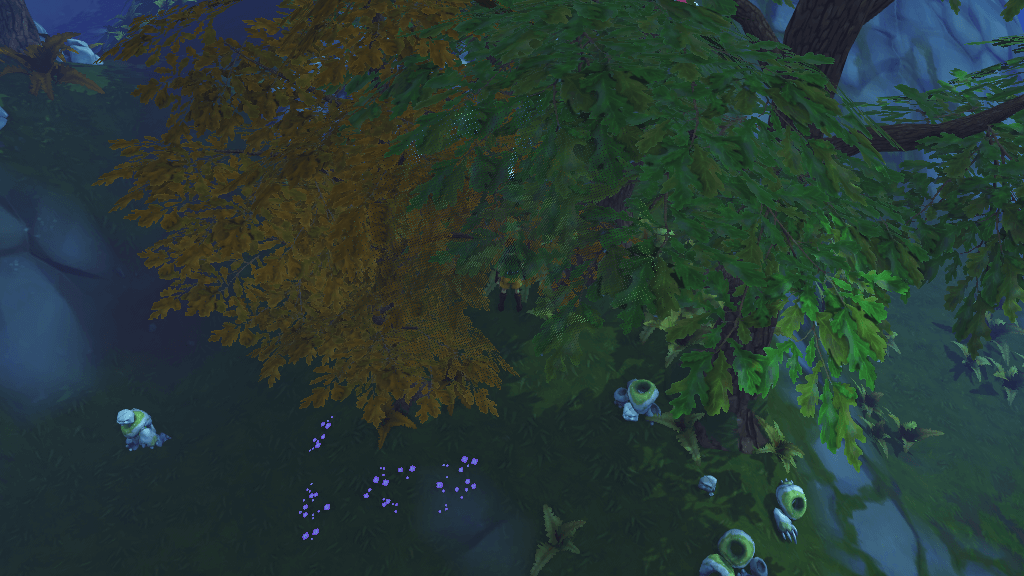
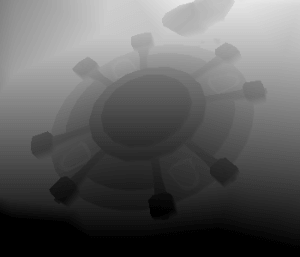
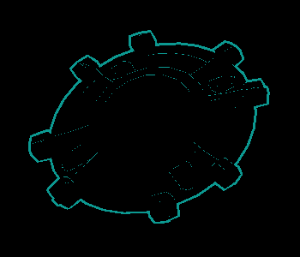
Legend (Image 1 - Scene depth | Image 2 - Query results, where red represents occluded pixels. | Image 3 - Tree canopies drawn based on the query results. | Image 4 - Silhouette | Image 5 - Final scene)
One last important detail: Since we're using values calculated based on what was drawn on the previous frame to modify what's drawn in the current one, whenever we prepare a query we make sure it takes into account canopies and foliage as if their transparency was unchanged by this feature. If we did not do this we would never obtain stable results, and the final transparency values would keep alternating.
Farewell for now
As a closing note, we hope you'll enjoy these changes! We believe they will be a vast improvement for most players. However, we also recognise some may prefer to play without them, or are concerned they may make RuneScape less immersive. So, although these visibility improvements will be enabled by default at release for devices that support them, they will not be active during cutscenes or while using the free-camera. There will also be an option in graphic settings to disable them.
This about sums it up. I hope you enjoyed this post, and are looking forward to these visibility improvements - we hope to release them alongside our Easter event!
Mod Saj